Tech Talk
Trust Me, My Wiring Is Fine: Wiring Tips and Tricks
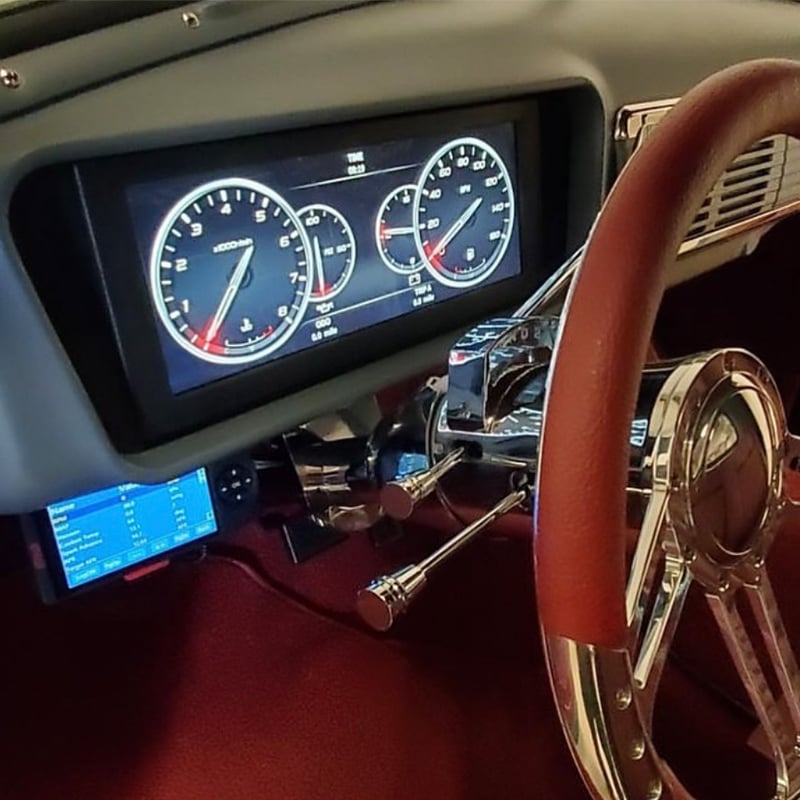
Don’t tell me to check my ground, my wiring is fine! While the above picture is somewhat of a joke, it represents many situations that we see daily. Whether you are wiring an AutoMeter gauge or re-wiring your entire car, here are some basic wiring tips to make your job go as easy & successful as possible:
Ground
This is first on the list. Even though manufacturers and even magazine tech article have been screaming it for years, ground re-location is still the #1 fix for electrical-related issues. Just because something is metal, does not mean it is a good ground. Because it is a good ground for something else, such as a radio, a light, or a power outlet does not always mean it is a good ground for what you are adding.
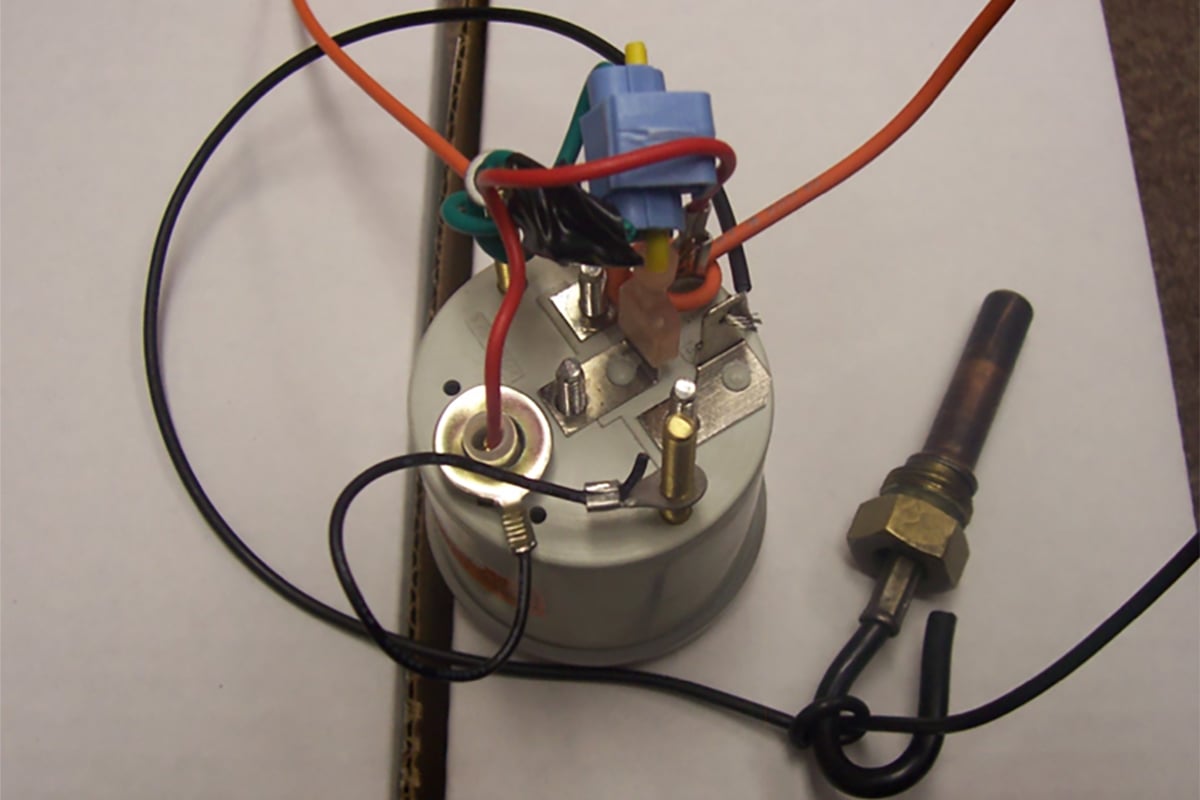
Due to the gauges’ constant reference ground, we recommend grounding your gauges directly to the engine. Why?
- Any self-grounding (engine) senders will be grounded to the engine.
- If the engine is not very well-grounded the starter will not crank, and the spark plugs will not fire. Therefore you will be more worried about solving that issue before you ever see a gauge reading.
- The engine generally ends up being a “cleaner ground” than the body, chassis, or even the battery.
- Grounding to an aluminum intake manifold, or cylinder head is “OK”. I typically look for an unused accessory mounting hole in the block, head, or intake.
Remember, the battery is the return path for everything electrical in the engine, and therefore certain sensitive devices such as air fuel ratio gauges or pyrometers can be affected by this return current flow if connected to the battery.
Some manufacturers recommend direct battery ground, and most times for their own good reason, so we recommend to follow the manufacturers’ recommendation for where to ground your electrical device. For AutoMeter, this would be a direct engine ground.
It Has a Good Connection (Or Does It?)
Just because two wires look like they are connected, they can still present a problem. There are many ways to connect two wires (or to install a connector). Here are some examples of various connection types:
- Twist wires together & tape
- Twist wires and install a wire nut
- Twist wires and solder
- Insulated crimp connector
- Non-insulated crimp connector
- Non-insulated crimp connector with solder
- Scotch Locks
- Weather Pack connector.
- Deutch Connector
There is a different purpose for each connection type listed, just as there are more connection types than what I have listed. In the automotive world, remember that the wiring needs to survive bouncing, vibration, extreme cold, extreme heat, moisture, and dryness, not to mention various amounts of current flow.
Twist & Tape
I never recommend twist and tape, as over time the twisting can loosen and cause a high resistance connection or intermittent/failed connection.

Wire nuts
Wire nuts were designed for buildings & structures. Therefore, I do not recommend these in the automotive world. They are also not to be used in the weather.
Twist & Solder
When done correctly, twisting and soldering is a great way to make a splice, though it is recommended that it be twisted in-line to make a smooth, non-protruding connection, then the connection should be covered with properly sized heat shrink.

Insulated Crimp Connector
An insulated crimp connector is okay in the interior of the vehicle when properly crimped, using the correct tool and if the connector is also properly sized. For high current loads, you should consider a non-insulated version and solder the connections after crimping.

Non-Insulated Crimp Connectors
Non-insulated crimp connectors are used when you want to solder the connection after crimping. This is also used when you simply do not want that bulky red, yellow, or blue plastic insulation protruding or bulking up a common connection point. Sliding a properly sized piece of heat shrink over a non-insulated crimp connection looks so much better than those colorful insulated versions.

Scotch Locks
Scotch Locks (also referred to as the vampire splices, quick splices, 3M connectors, trailer splice connectors, etc.) should never be used. They are quick & easy, but that is where the good ends. The bad is that they are not weather resistant, they loosen up over time, they can easily damage the individual wire strands, they can overheat from poor connections and they are quite bulky. Wrapping them in tape does nothing but seal the moisture in. Next to bad grounds, I have fixed more problems created by these pesky connectors. Don’t use them!

Weather Pack or Deutch Connector
If you are doing professional wiring and wiring in something that might be unplugged for maintenance, such as if this is a race car that the instrument cluster comes in and out of or the engine comes in and out of often, you might consider using a Weather Pack or Deutch connector. This involves a bit more time, special tools, and knowledge of the connectors. Plus, they are a bit pricey. When properly done, they provide a great weathertight connection and allows the component to be easily serviced without cutting wires, or having to keep track of connection arrangements when dealing with more than one wire on a component.

When NOT to Solder
First and foremost, do not solder any Type K thermocouple wire connection (commonly found with pyrometer gauge thermocouples). This changes the properties of the thermocouple wire which can change the overall reading of the gauge.
High vibration locations or locations where the wiring will be prone to a lot of movement can cause a soldered connection to crack or break. In the engine bay, I tend to use a non-insulated crimp connector, then slide the heat shrink over the crimp. The heat shrink will add a strain relief, as well as weather protection (if using a good quality/sealing heat shrink).
Support Your Wiring
Use your choice of wiring conduit to keep wires neat and organized. Choose routing paths away from moving parts or extreme heat. Do not route wires through your door jambs!
Use zip ties or electrical tape to keep the split-loom or wire conduit closed.
Do not route so tight that your wiring is being stretched.
Pre-map or measure how you are going to route your wiring to make sure you have enough wire and to help avoid surprises later. Take a lesson from your OEM vehicle manufacturer. Though the wiring is not done for looks, it is typically well organized, wrapped, sealed, and out of the way of high heat and moving components. It is typically pretty well strain relieved to avoid supporting its weight, the weight of other components and from being pulled on from body flex, engine movement and suspension movement.
With these simple tips, your wiring project can go a long way with fewer problems, whether the project is small or large.