Tech Talk
Installing a Boost, EGT and Transmission Temp Gauge on a 2003 GM Duramax
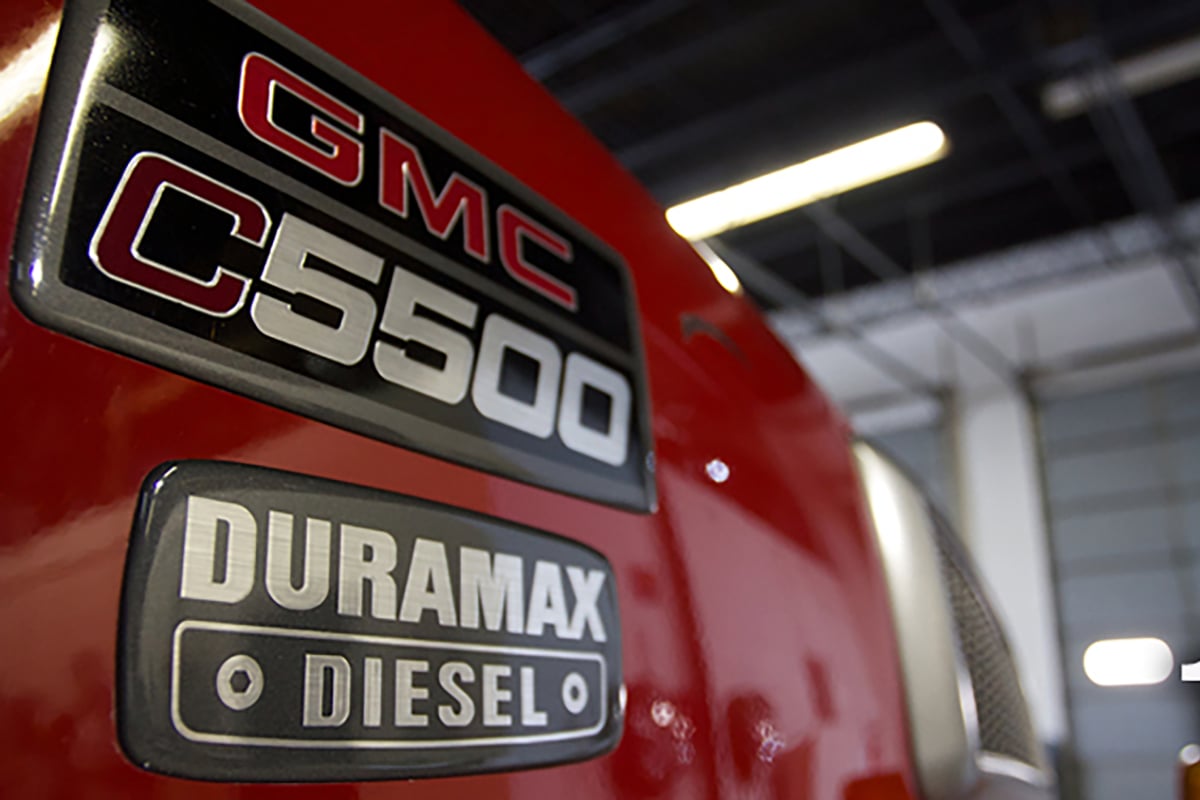
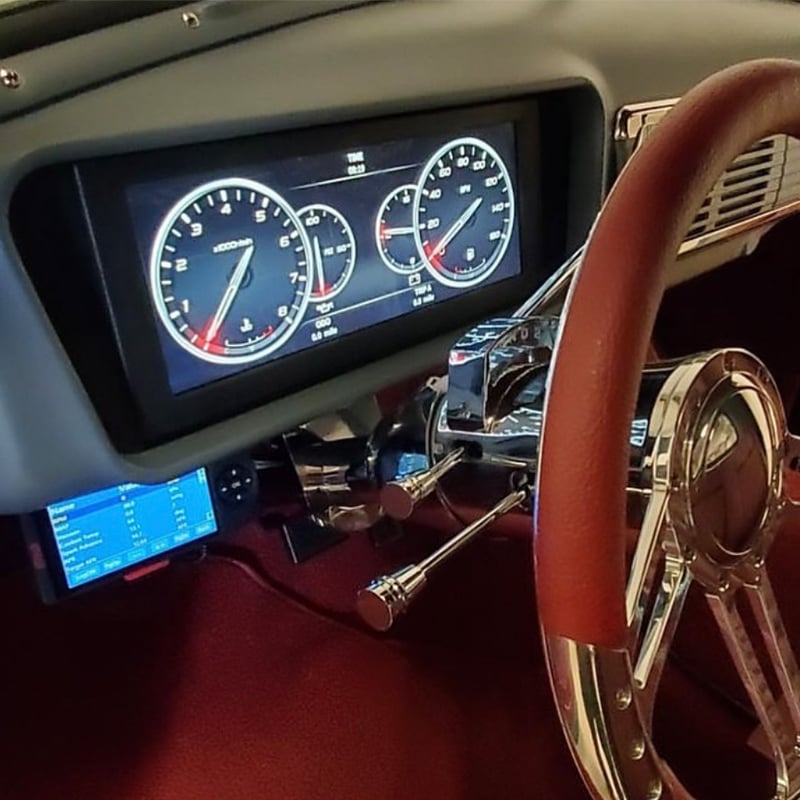
AutoMeter’s Factory Match gauges are a great way to have more visibility on vital measurements without sacrificing the factory look. Here, we installed GM Factory Match Transmission Temperature (Part #8357), Boost (Part #8304), and EGT/Pyrometer (Part #8344) gauges on a tow truck equipped with the Chevy/GMC Duramax.

We opted to install the gauges into a Universal Gauge Pod (Part #5288) for this application.
Transmission Temperature
This application does not have a readily available pressure port to conveniently thread a sender into. Therefore, you can either drop and modify the pan or you can modify one of the cooler lines. With the high cost of transmission fluid for this transmission and its recent trans service, we opted to modify the outgoing (from trans to cooler) transmission line.
The case of the transmission is identified “TO COOLER” and “FROM COOLER”.

We found a straight section of trans line to install our fittings into the outgoing trans line. Use a tubing cutter to cut out a section of line to match the distance needed to install the T with the fittings installed. Keep in mind that the lines need to be long enough to insert into the compression fittings with the T fitting assembled. The straight section shown is cleaned and with the tubing cutter in place.

These transmission lines are 5/8” in outer diameter. You will want to measure yours to verify the size, as this is on a heavy-duty tow truck. We easily located fittings at a local hardware store that worked perfectly for this. We used a ½” NPT 3-way Pipe T, with two 5/8” Compression-to-1/2” NPT fittings.

Below is the installed T fitting set up, with the sender installed into the T, using the supplied ½” NPT to 1/8” NPT bushing (adapter/reducer) that came with the gauge.

On this model, as well as earlier models, there is a vacuum (boost reference) line going across the top of the back of the engine for the wastegate. You may use a ¼” Vacuum T to “T” into this line. For later versions, this line is no longer there, which then requires you to remove, drill, and tap into the upper aluminum intake on top of the engine.

In the picture above, you can see the T installed into the wastegate line (viewed from behind the engine in this case).
Tip: Look for the wastegate (seen in the picture) to find the line if your truck is a 2003 or earlier model.
For pick-up truck and later versions without the wastegate, use a 5/16” or Letter R drill bit, then follow through with a 1/8” NPT pipe tap. Use caution when running your tap through the hole. We recommend to run it only halfway through, then test fit your fittings. The tap has tapered threads that get larger the deeper the tap goes in.

Upper intake removed, with a hole located, drilled, and tapped.

Upper intake reinstalled, with boost line and fitting installed.
EGT (Pyrometer) Installation
Since this is in a tow truck, the right bank exhaust manifold was accessed from above and behind the engine through the engine access cover (similar to a van). In your pick-up truck, it is easiest to access by removing the right front wheel & tire and the right front inner wheelhouse liner. You will drill and tap the exhaust manifold near #8 (last) cylinder. Use a 5/16” or Letter R drill bit, then follow through with a 1/8” NPT pipe tap. Use caution when running your tap through the hole. We recommend to run it only halfway through, then test fit your fittings. The tap has tapered threads that get larger the deeper the tap goes in.
Tow truck version is shown from above the rear of the engine, from the interior.

Hole Drilled and tapped, and probe fitting installed.

Pick-up truck version is shown, viewed from the right side with tire and inner liner removed.

Pick-up truck version is shown from further away to give a better idea of where you are looking.

Special Thanks to Ron’s Towing of Rochelle, IL for letting us install these gauges into his truck.
Parts Used
- GM Factory Match Transmission Temperature Gauge – Part #8357
- GM Factory Match Boost Gauge – Part #8304
- GM Factory Match EGT/Pyrometer Gauge – Part #8344
- Universal Gauge Pod – Part #5288


