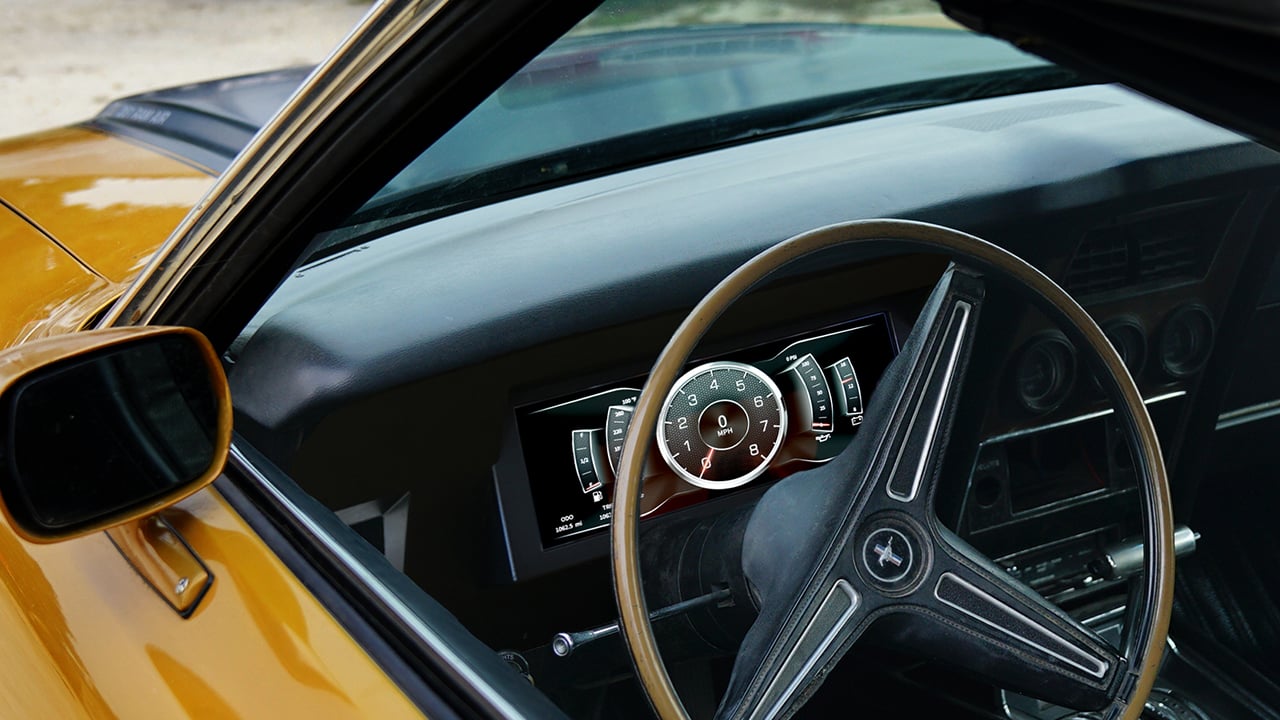
Today, we are installing AutoMeter Spek-Pro water temp (Model #P346328) and oil temp (Model #P322328) gauges into a 2015 Ford Mustang. An oil pressure sender can be installed very similarly to the oil temp sender seen in this write-up. Whether you’re working on a 5.0 Coyote that came factory in your vehicle or on a 5.0 Coyote swap, the procedure will be the same.
Switched 12v Power
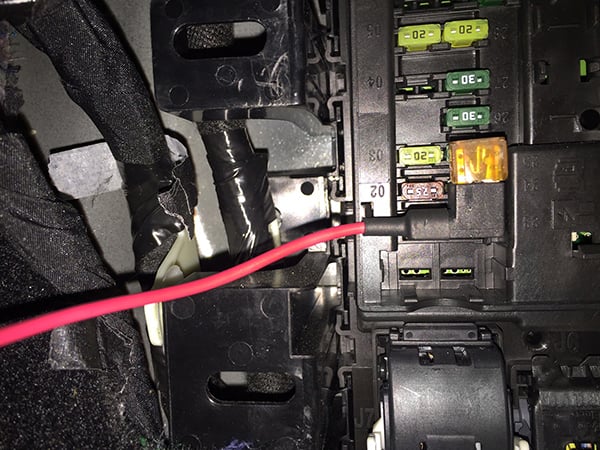
We wanted to avoid cutting into the factory harness. We used a Bussmann ATR micro fuse add-a-circuit fuse tap to tap into the factory fuse box. We are running two gauges, each which draws less than 1 amp. We opted to use a 5 amp fuse that we had on hand, however, a 3 amp is more than adequate.
Grounding
As with all instrumentation, we recommend a good engine ground above all else. The digital stepper motor gauges we installed into this Mustang are less prone to ground issues than other types of instruments, but a good engine ground avoids possible headaches.
Harness Routing
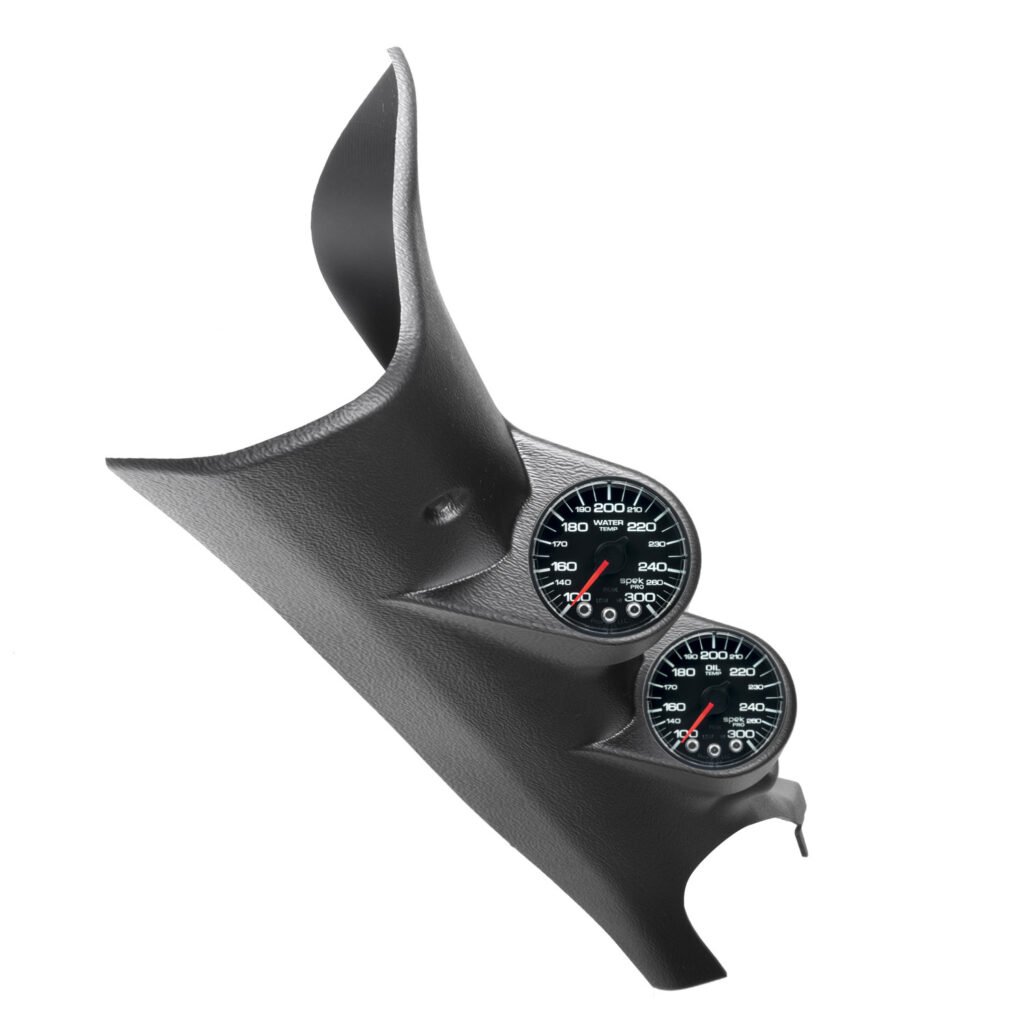
In our application, the gauges were installed into the A-pillar using the AutoMeter Model #12136 dual gauge pillar. The Mustang has an easily removable panel on the side of the dashboard to help with harness routing. We routed the harnessed down the pillar to the kick panel. From there, the switched 12v power wire followed the bottom of the dashboard, passed through a hole in the center console, and over to the fuse box on the passenger side kick panel. We held the loomed power harness up and out of the way with zip ties to existing, unused brackets under the dash.

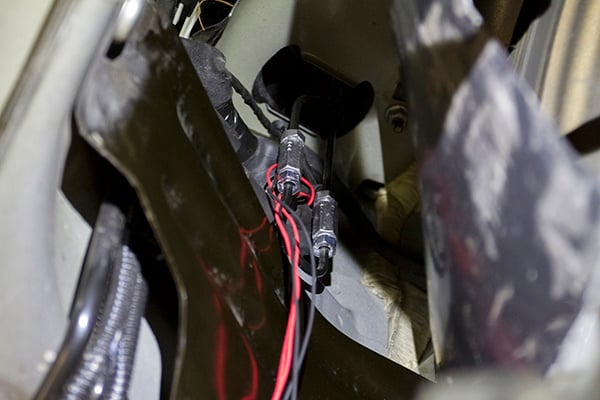
The sender and ground wiring were routed through a grommet near the driver side kick panel. This will put the harness out to the back of the wheel well. We then routed the harness up into the engine bay, near the brake master cylinder (BMC), and then around the strut tower and down to the senders. We used cable ties along the way to keep the harness tight against the strut tower and away from exhaust heat.
Water Temperature
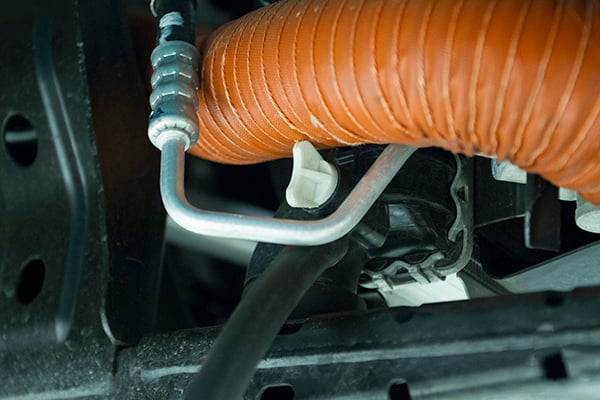
Before you begin, be sure to drain the cooling system. A drain valve for the radiator can be found on the passenger side bottom corner of the radiator. You will need to remove the undertray to gain access to this drain valve. 3/8” hose connected to the drain nipple allows you to drain the coolant easily into a container in order to refill the system later.
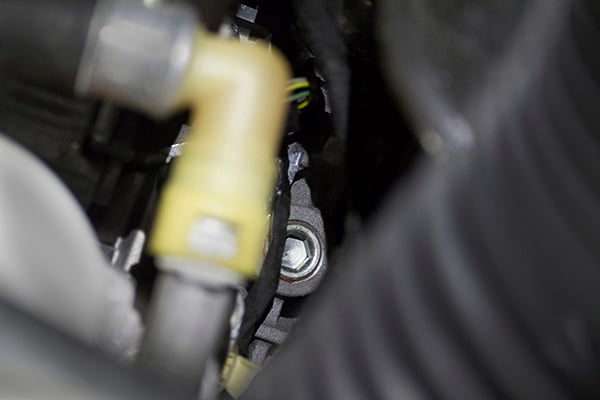
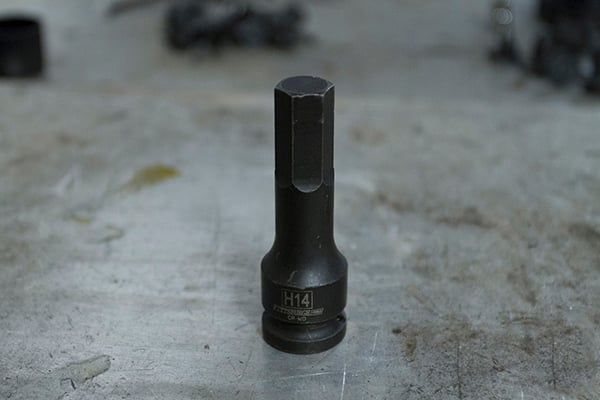
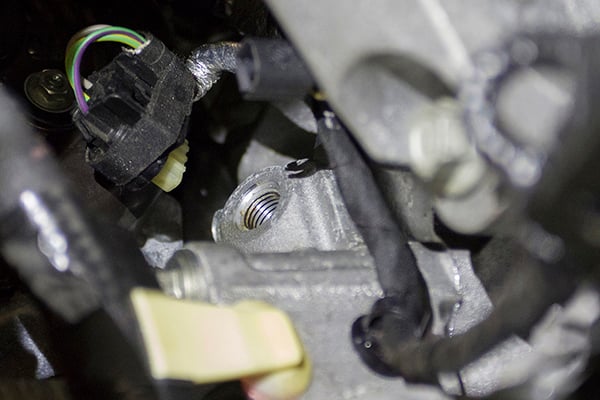
A convenient water temp port can be found on these engines on the left (driver’s) side of the engine block, behind the oil filter housing. If the engine is installed while you’re performing this installation, you’ll need to most likely locate this from underneath the vehicle. The hex plug is a 14mm hex and is threaded into the block with ¾” NPT threads. You can easily find a ¾” to 3/8” NPT adapter through most hardware stores in the plumbing section.
NOTE: Let the engine cool completely, wear eye protection, and be ready with a catch pan as removal of this plug can result in a geyser of coolant.
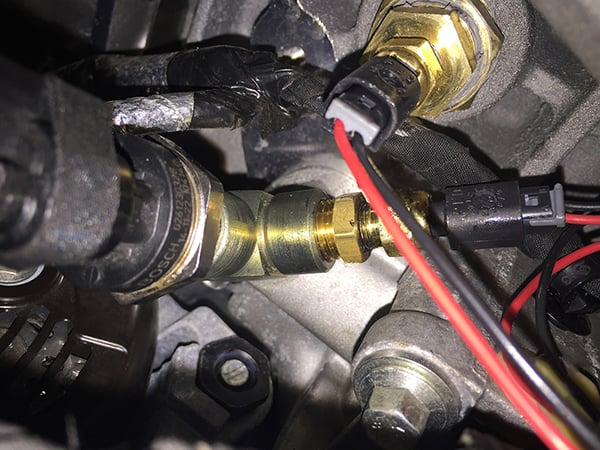
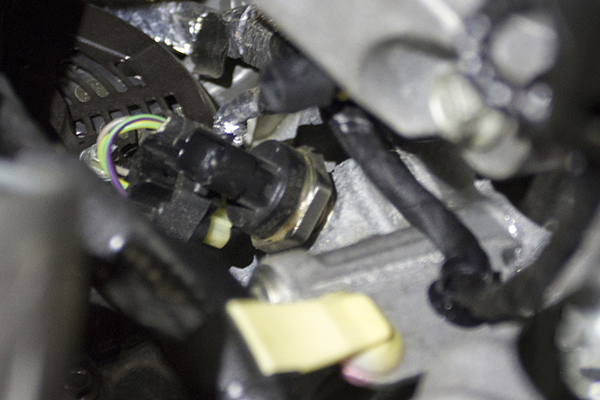
Oil Temperature/Pressure
The 5.0 Coyote engines will only have one port, which the factory oil pressure switch is already utilizing. If your vehicle has a factory-designed gauge to work with this motor (i.e. this is not an engine swap application), retain the factory switch to keep the “check gauges” indicator from coming on. We utilized a stainless 1 male, 2 female ¼” NPT T fitting. The male end threads into the factory port, the factory sender threads into one female port on the T fitting, and the AutoMeter sender is adapted to the T fitting using a ¼” NPT male to 1/8” NPT female bushing.
If there is no factory gauge, you may then eliminate the factory sender/switch, and use a 1/4″NPT to 1/8” NPT adapter bushing to install the AutoMeter sender or mechanical gauge line (this adapter will be included with your AutoMeter Oil Pressure gauge, it is not included with an oil temp gauge).
When using the above-mentioned oil pressure port, you may choose to remote mount the sender to keep too much excess weight and strain off of the T or just due to room constraints. You may use a stainless braided line kit, such as AutoMeter Model #3227 to accomplish this.

Special thanks to TF-Works for allowing us access to their Mustang GT and shop for the install.